Thinking about changing your motorcycle oil yourself, but not sure if you can handle it? This article walks you through the entire process in detail, with step-by-step instructions and photos to help guide you.
What you’ll find in this article:
- What exactly an oil change involves
- What tools and materials you’ll need
- A full breakdown of each step
- Pros and cons of doing it yourself
If you’re considering tackling your own oil and filter change, I hope this guide proves helpful.
- Pros and Cons of Doing Your Own Oil Change
- Tools and Materials You’ll Need
- Engine Oil Used
- Step-by-Step Procedure
- Removing the Under Guard
- Warming Up the Engine
- Loosening the Filler Cap
- Loosening the Drain Bolt
- Setting Up the Oil Disposal Pack
- Removing the Drain Bolt
- Preparing to Remove the Filter
- Removing the Filter
- Replacing the Washer
- Reinstalling the Drain Bolt
- Preparing the New Filter
- Installing the Filter
- Cleaning Around the Bolt and Filter
- Pouring in Fresh Oil (2.0L)
- Running the Engine
- Topping Up the Oil (~0.3L)
- Final Leak Check
- Reinstalling the Under Guard
- Summary
Pros and Cons of Doing Your Own Oil Change
Pros
- You can inspect areas that often go unchecked.
- You get a clear look at the condition of your old oil.
- You can choose your preferred type and brand of oil.
- You might save money by buying oil at a discount.
- Once you have the tools, you’ll only need to buy consumables for future changes.
- You can do it on your own schedule—no appointments necessary.
Cons
- It takes time and effort.
- You’ll need to gather the necessary tools.
- You need a place to work safely.
These are common reasons some riders prefer going to a motorcycle shop instead.
Tools and Materials You’ll Need
Required Tools
- Ratchet wrench set
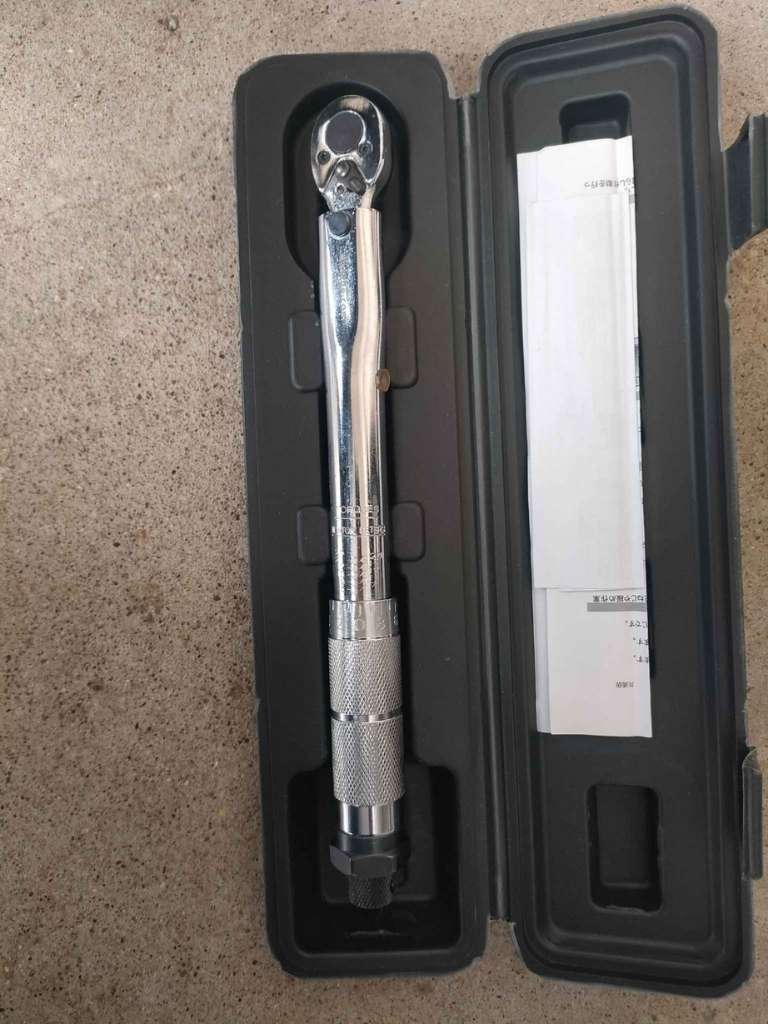
- Torque wrench
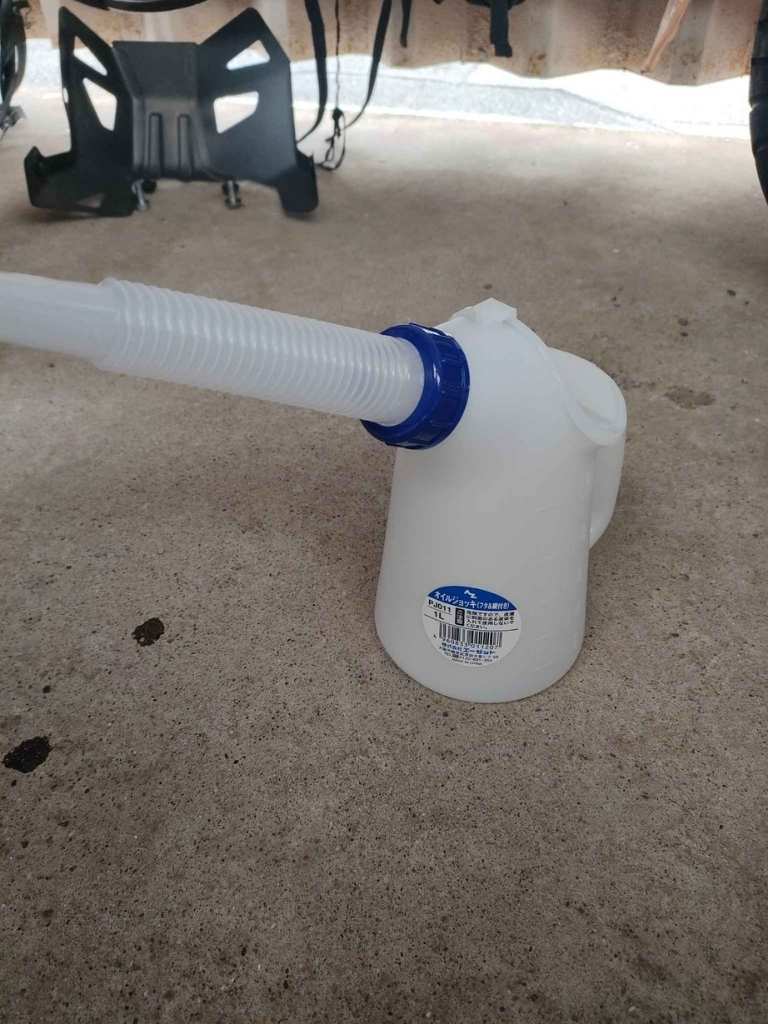
- Oil jug
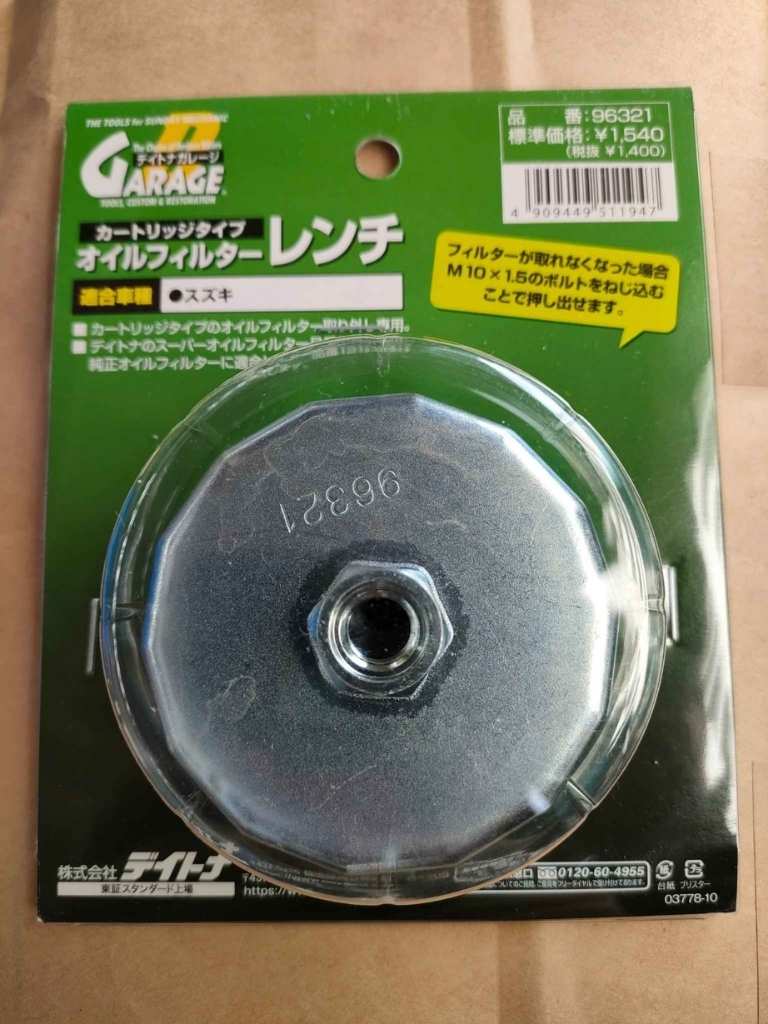
- Oil filter wrench
Nice to Have
- 17mm box wrench
- Rubber gloves
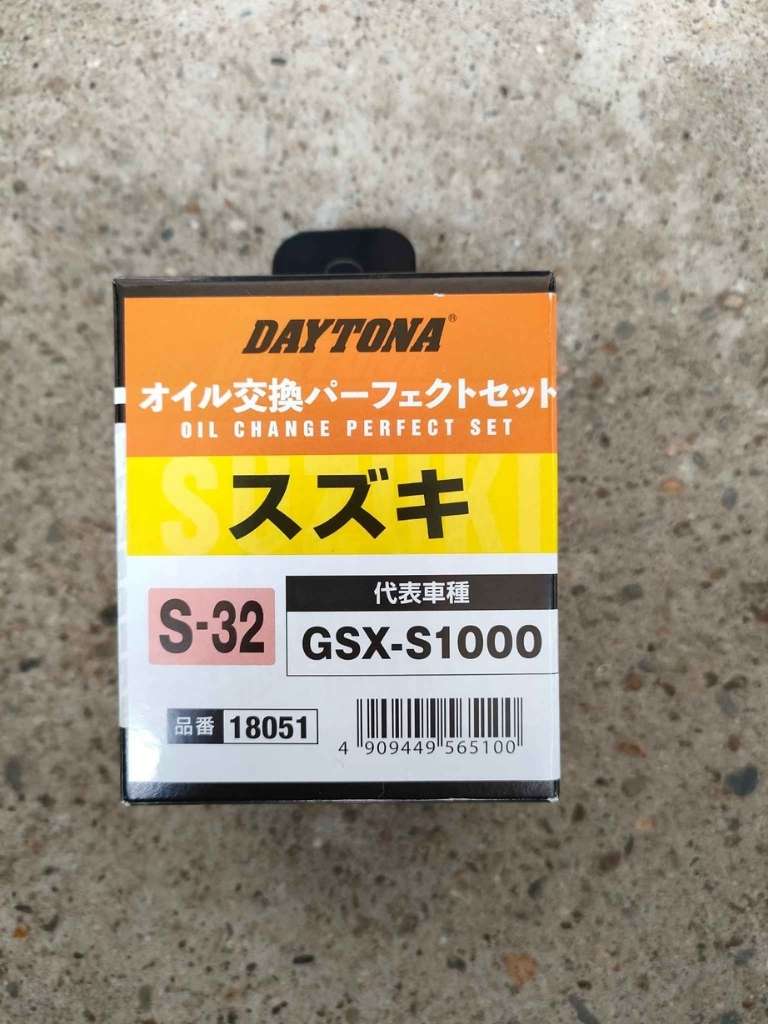
Consumables
- Engine oil
- Oil filter
- Drain bolt washer
- Oil disposal pack
- Parts cleaner

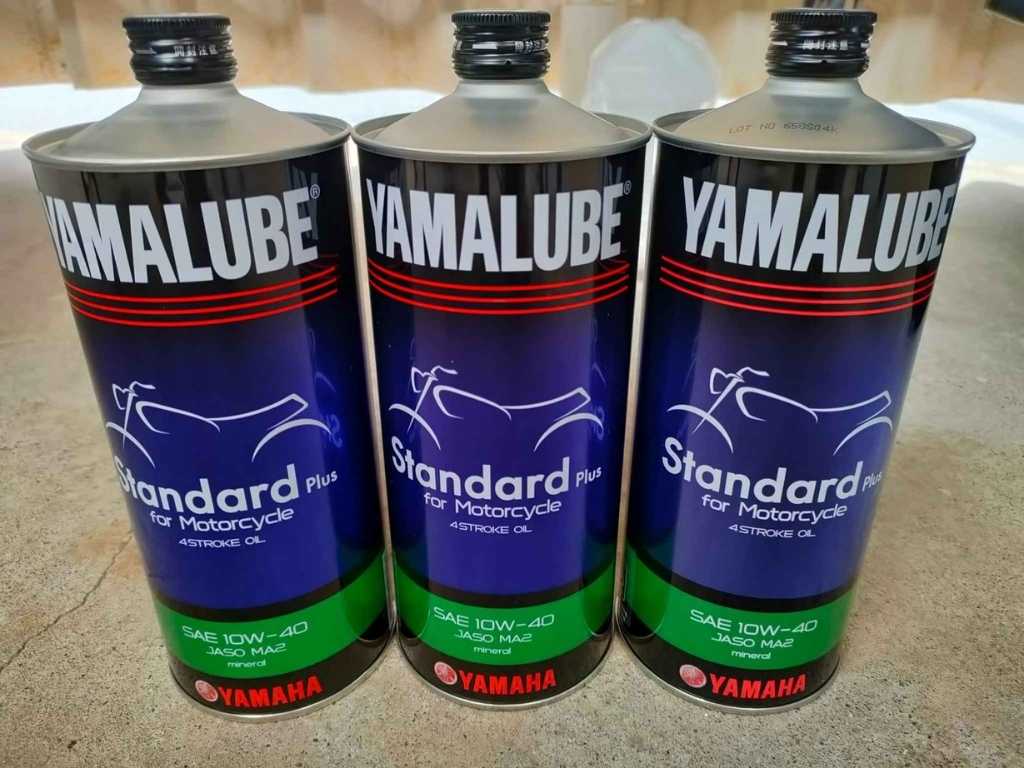
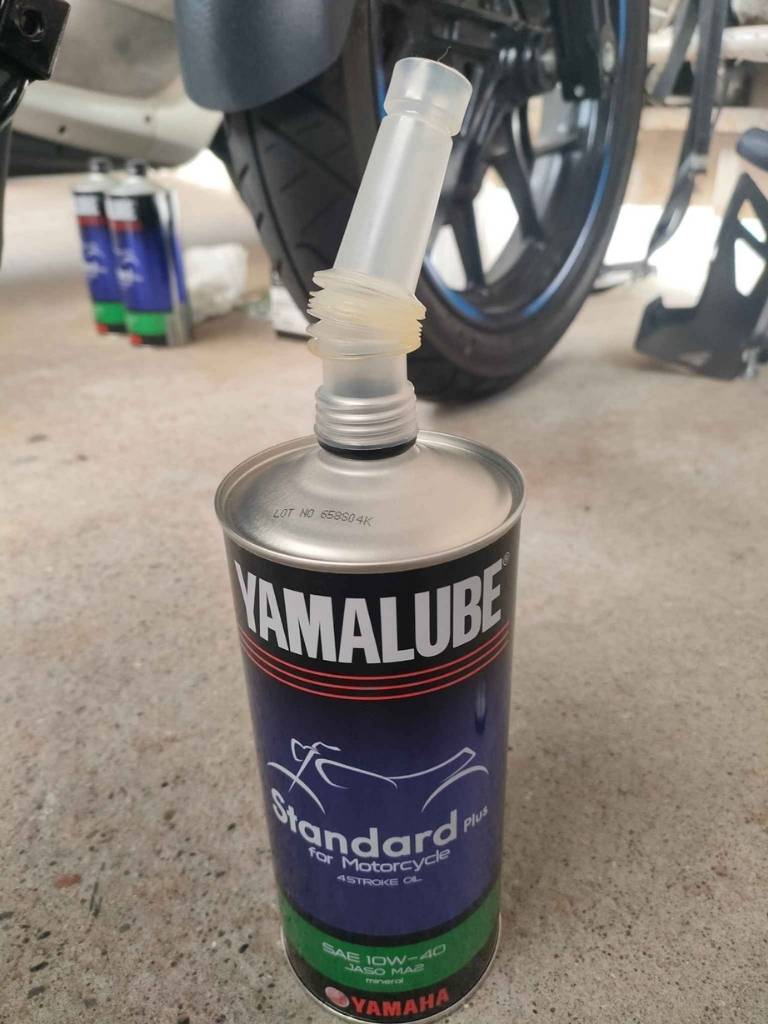
Engine Oil Used
This time, I used YAMALUBE Standard Plus (10W-40).
There are many opinions about which oil to use, but based on past experience, I’ve consistently used YAMAHA oil for non-scooter bikes.
Step-by-Step Procedure
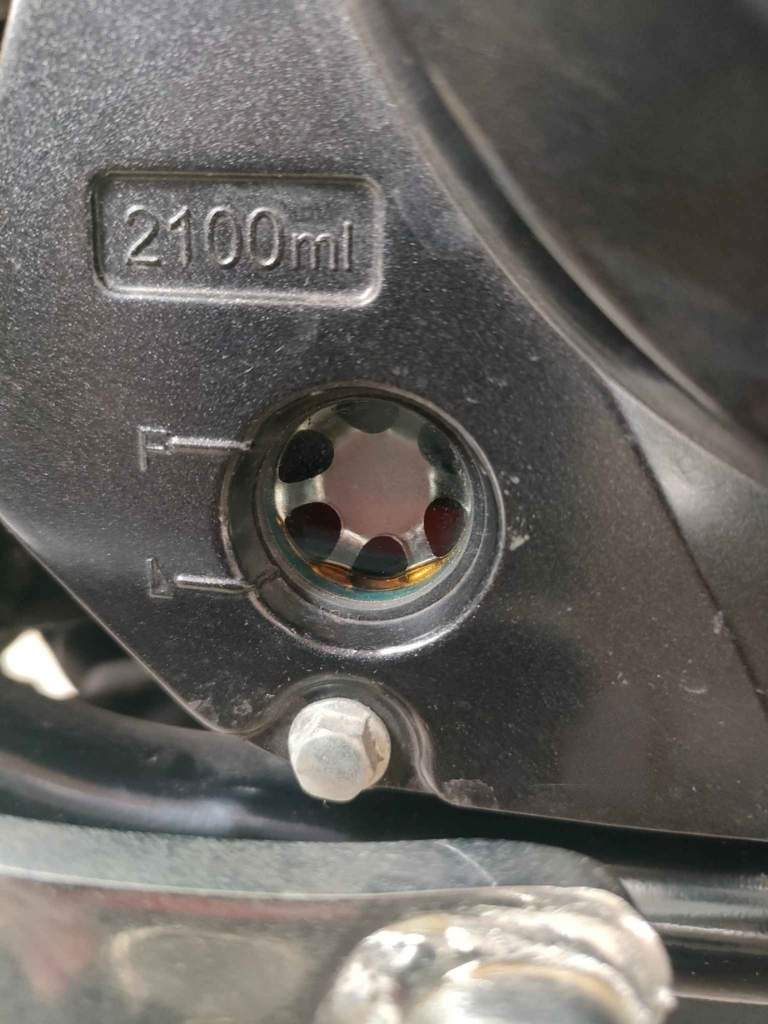
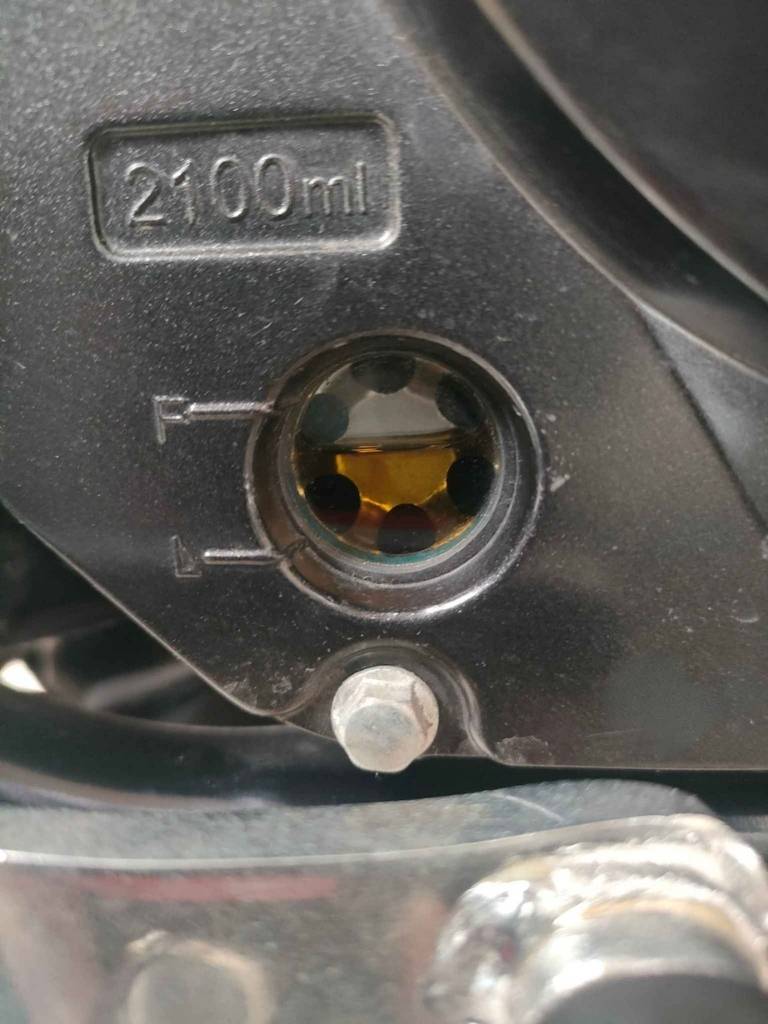
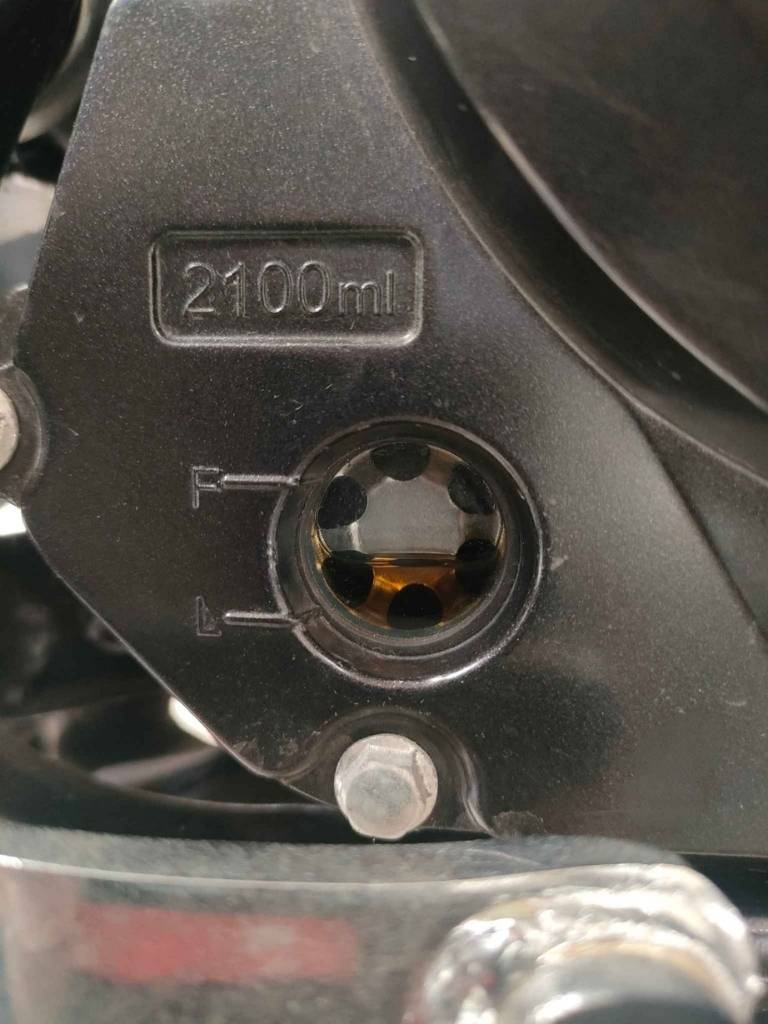
Before getting started, let’s check the current oil level using the oil gauge window.
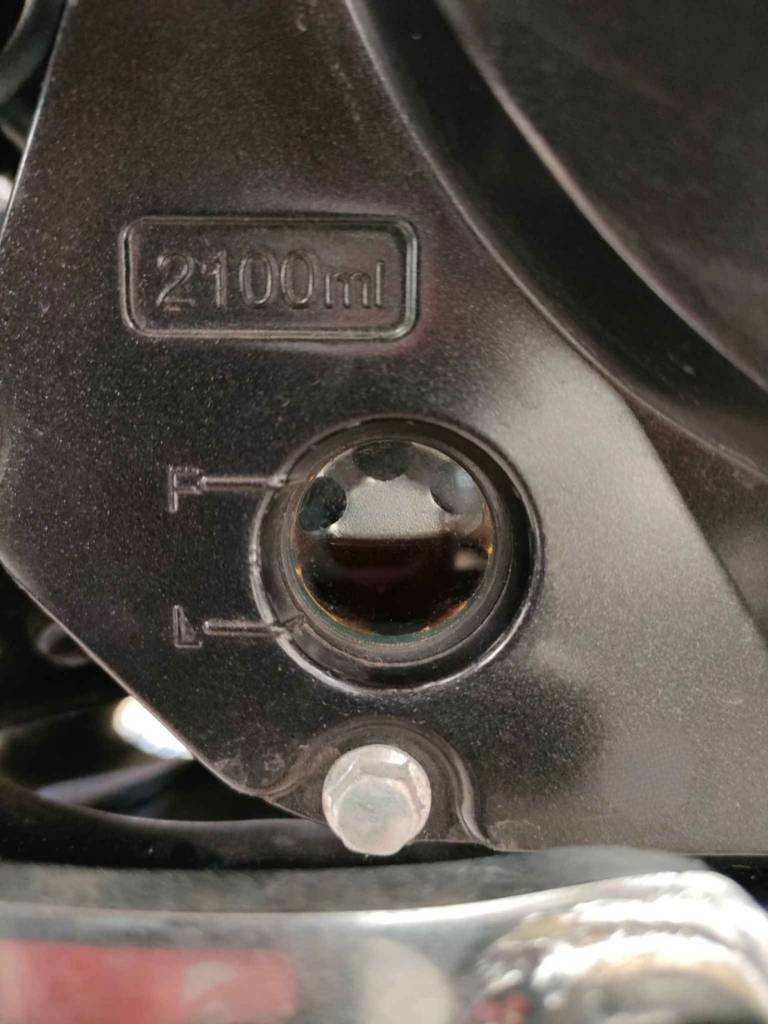
The level is fine, but the oil looks dirty—especially when compared to the clean oil later.
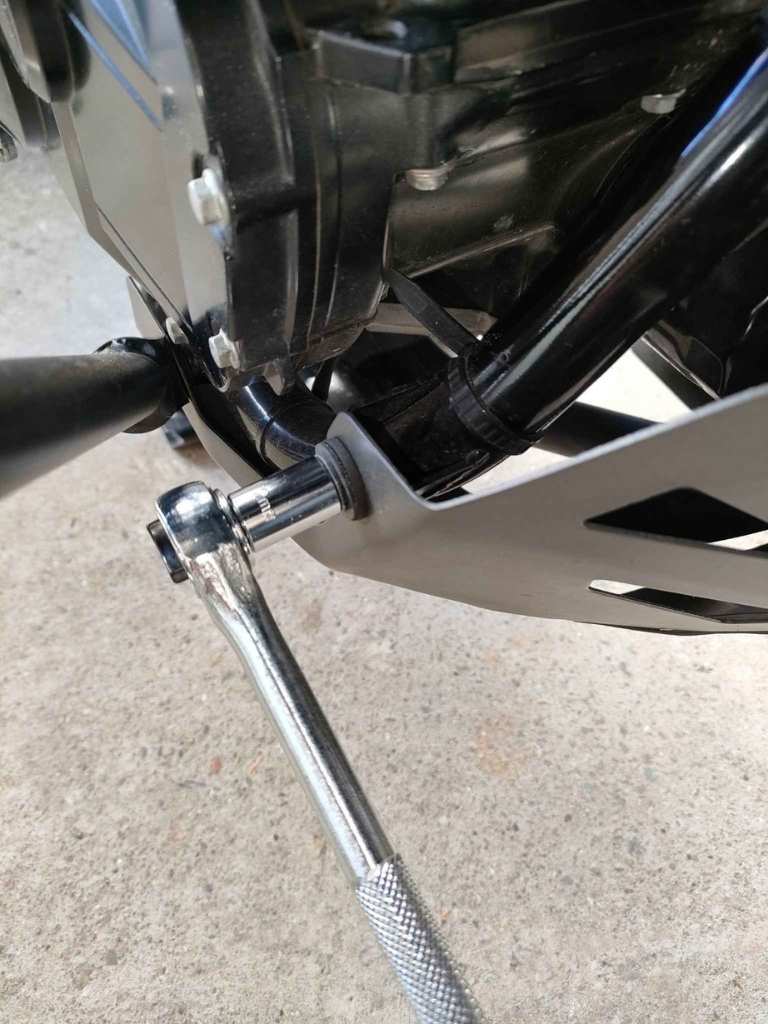
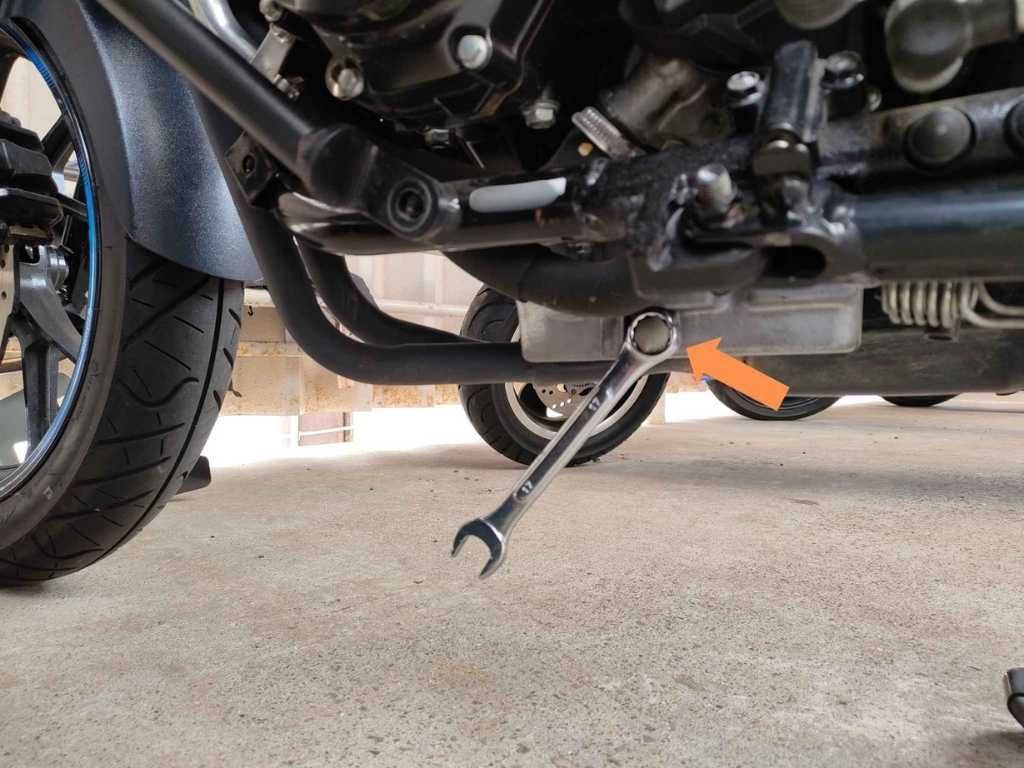
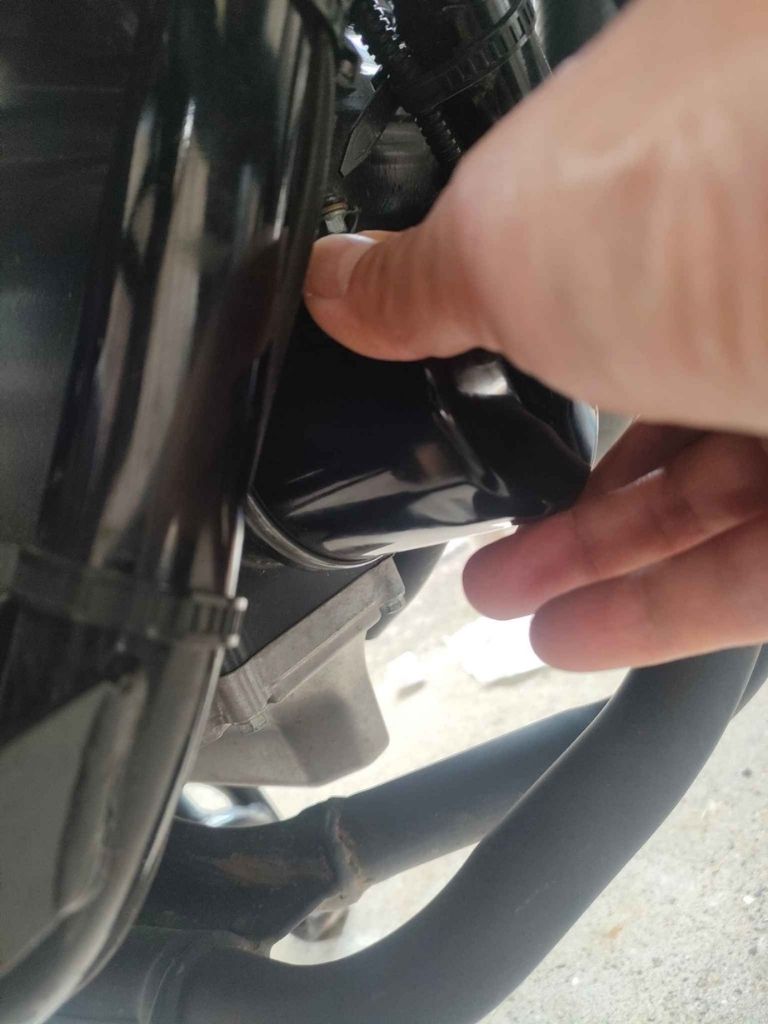
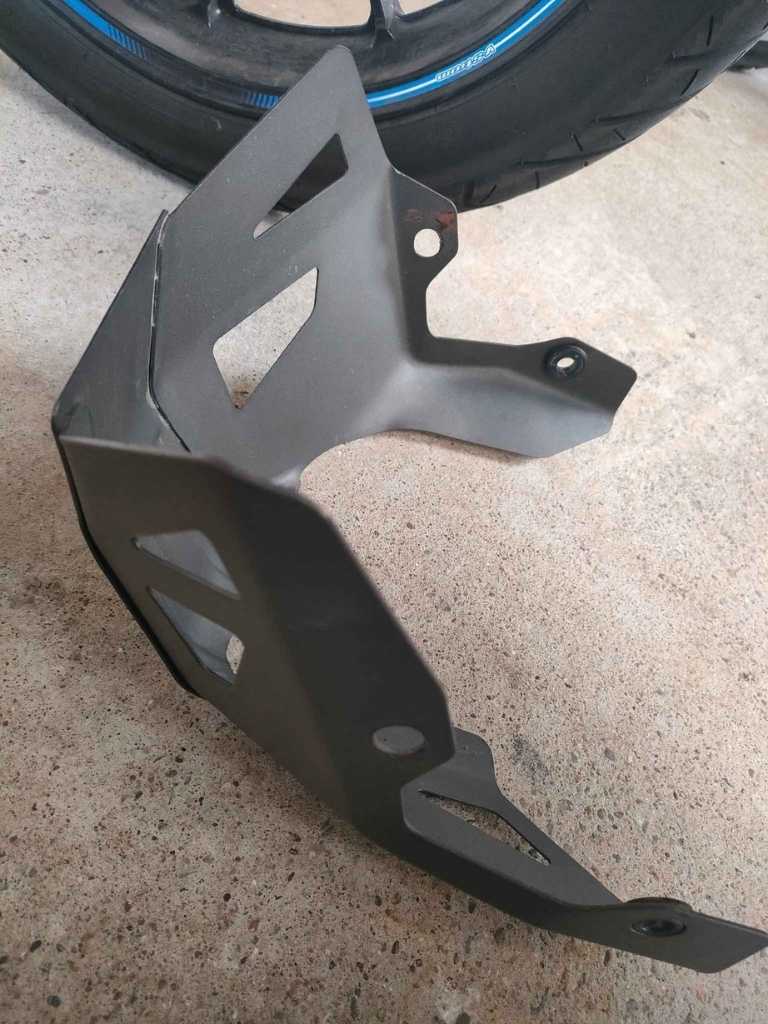
Removing the Under Guard
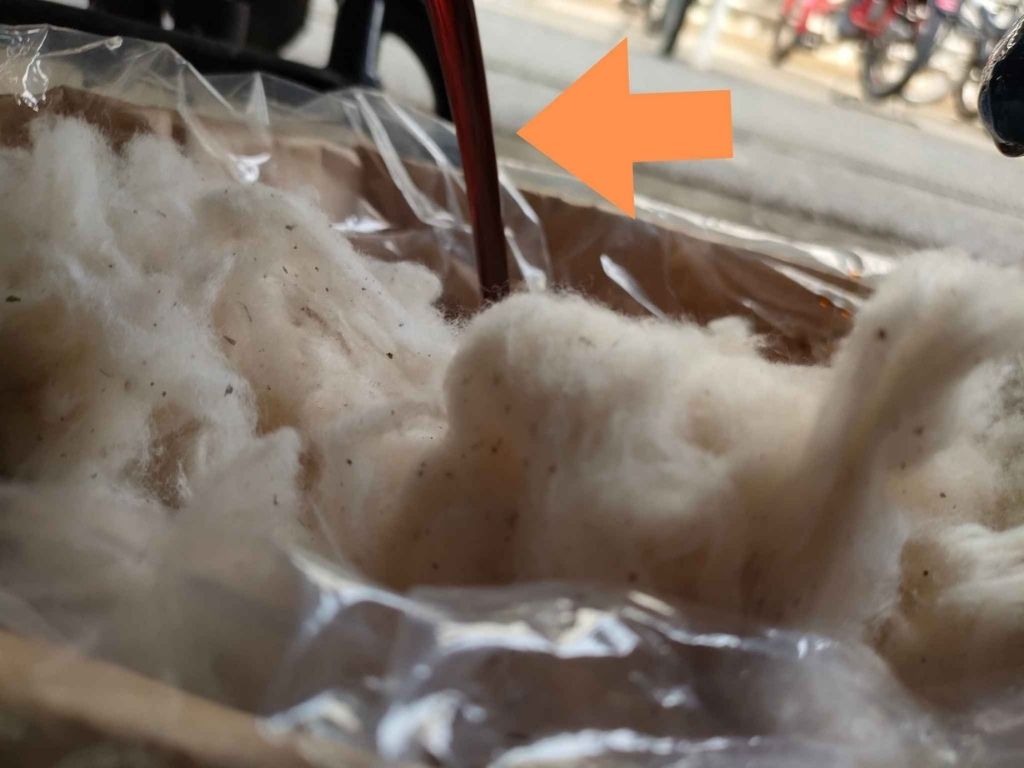
Since the oil filter is located at the spot indicated by the arrow in the photo, you’ll need to remove the under guard to reach the oil filter.
This step isn’t necessary if you’re just doing an oil change.

Warming Up the Engine
Start the engine and let it run for 1–2 minutes to warm up the oil.
Be careful not to overheat it.
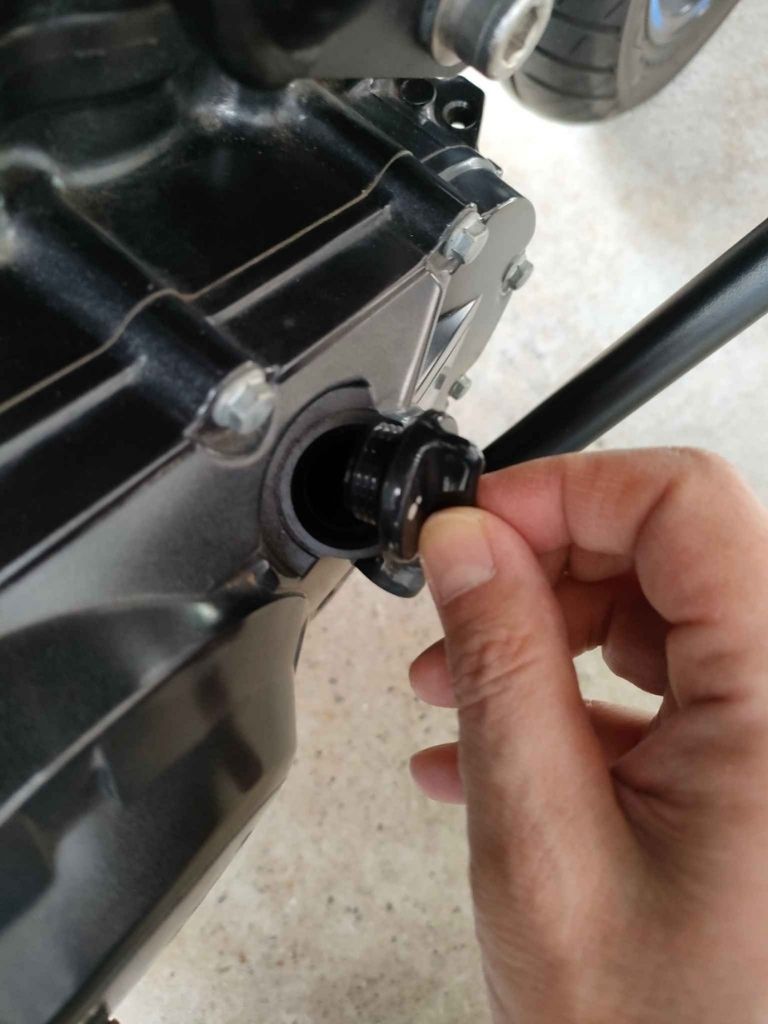
Loosening the Filler Cap
Loosen the oil filler cap to help the oil drain more easily.
Loosening the Drain Bolt
Loosen the drain bolt.
It’s usally torqued tight, so I use a 17mm box wrench to avoid stripping it.
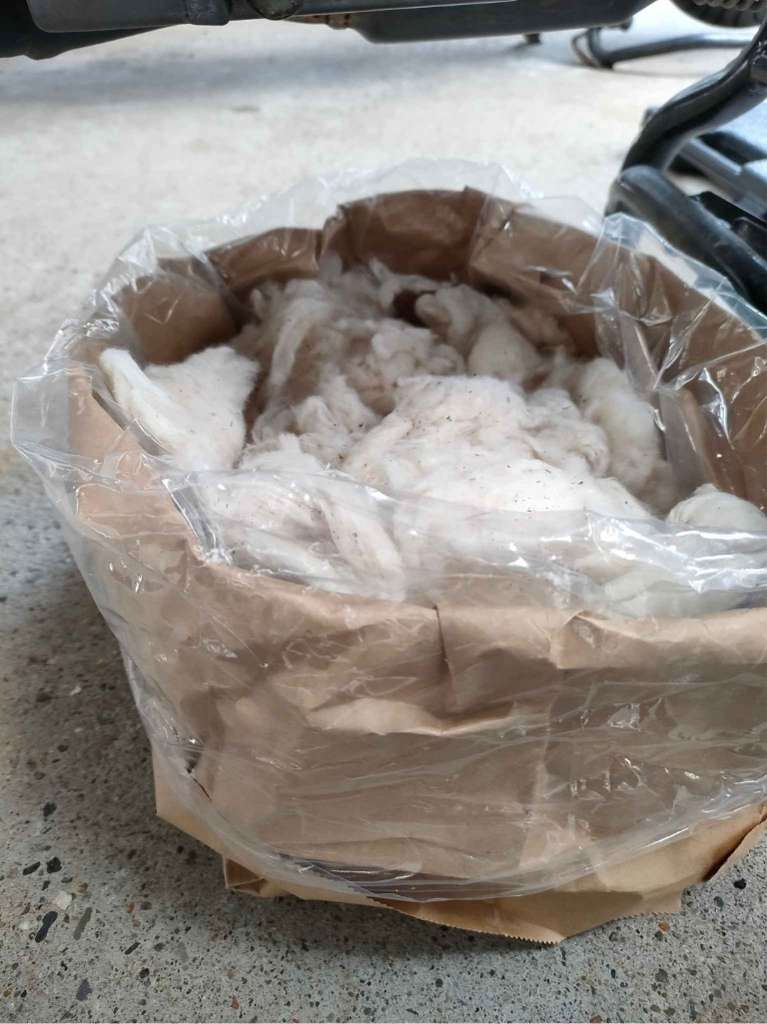
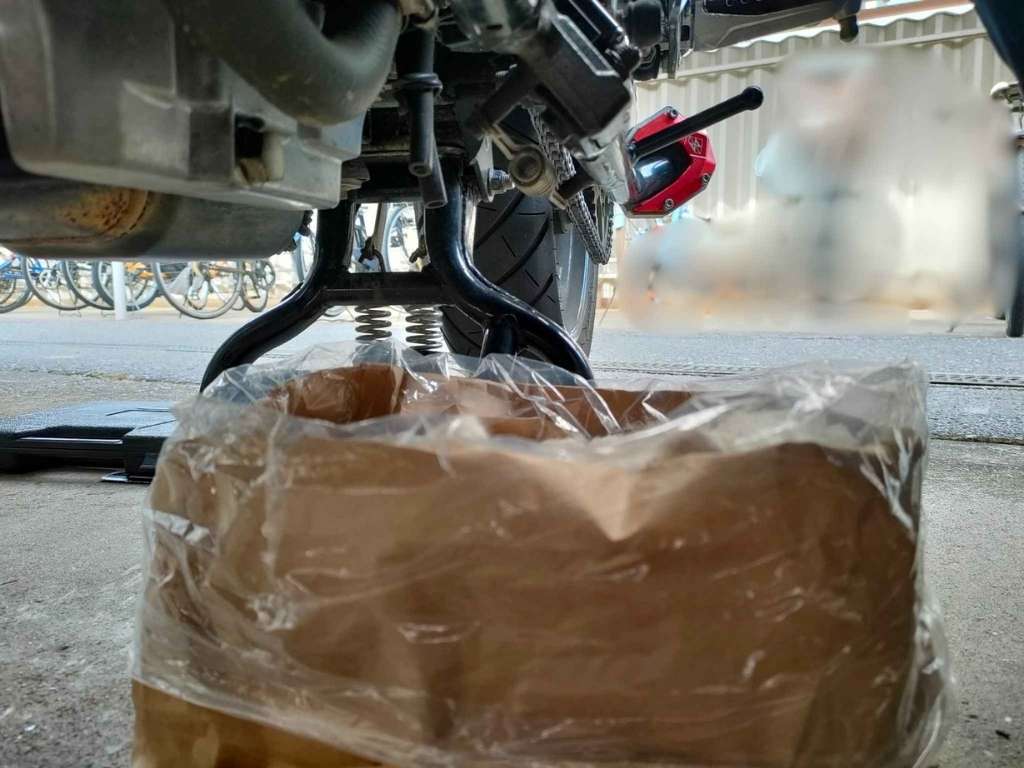
Setting Up the Oil Disposal Pack
Fold the outer edge of the oil disposal pack and fluff up the absorbent material inside.
Place it under the drain bolt—slightly offset—to catch the oil when it shoots out.
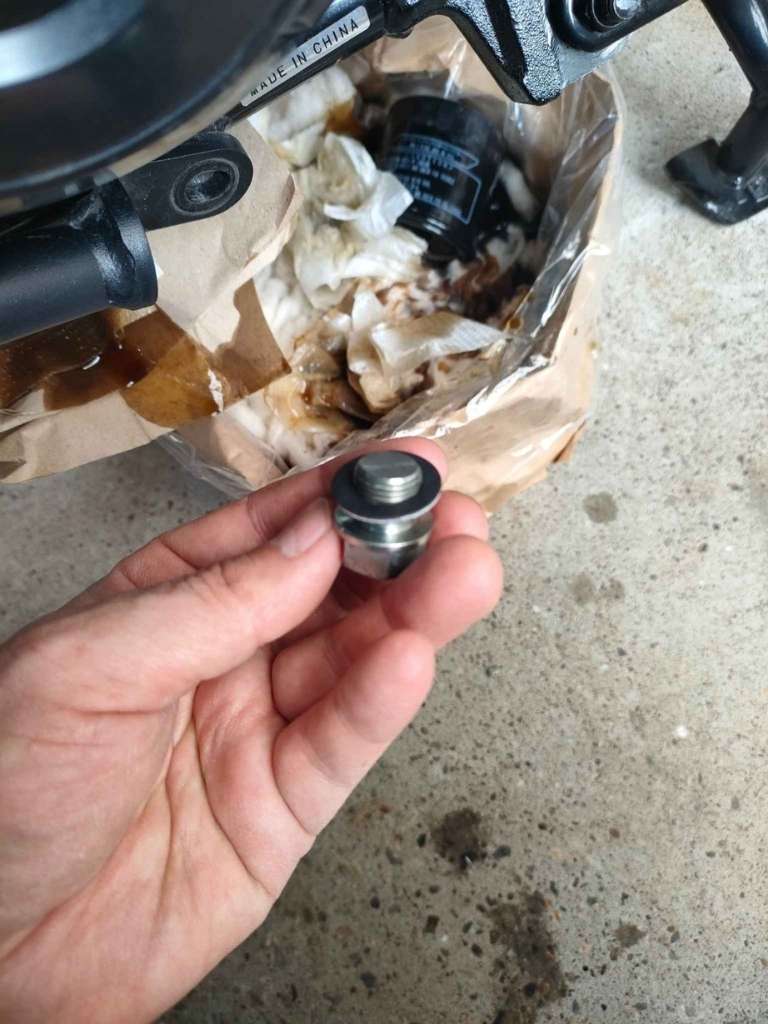
Removing the Drain Bolt
Unscrew the bolt and let the oil drain.
I recommend wearing gloves, as it’s easy to get oil on your hands or accidentally drop the bolt into the disposal pack.
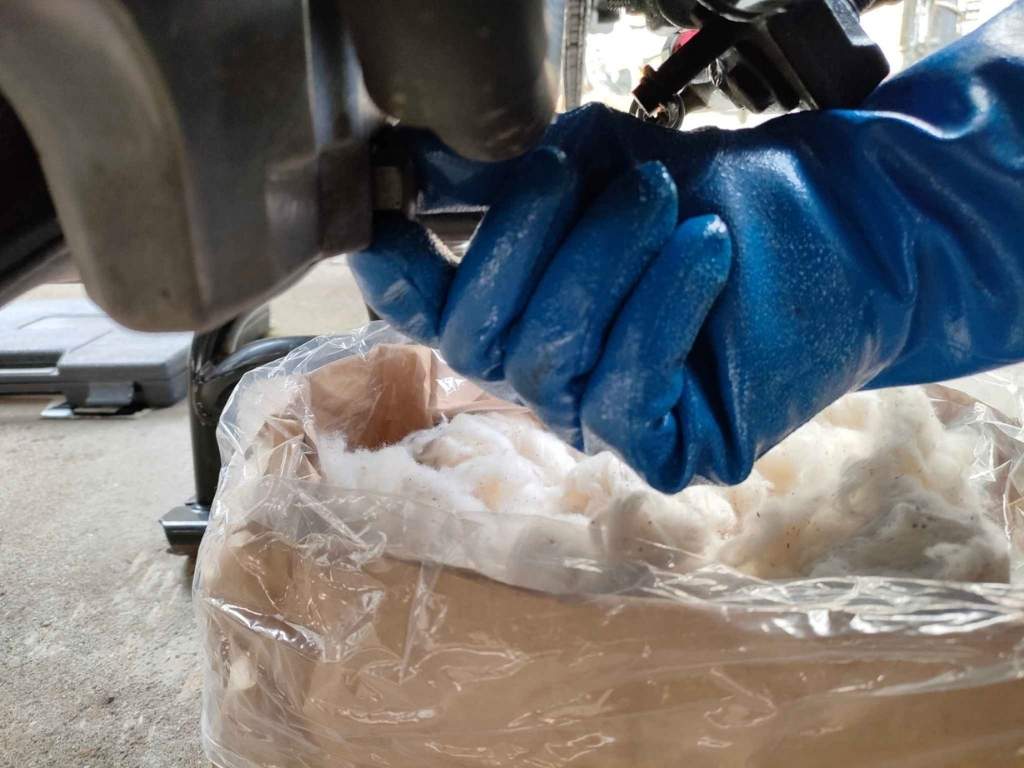
While it drains, check the oil for discoloration or debris.
Preparing to Remove the Filter
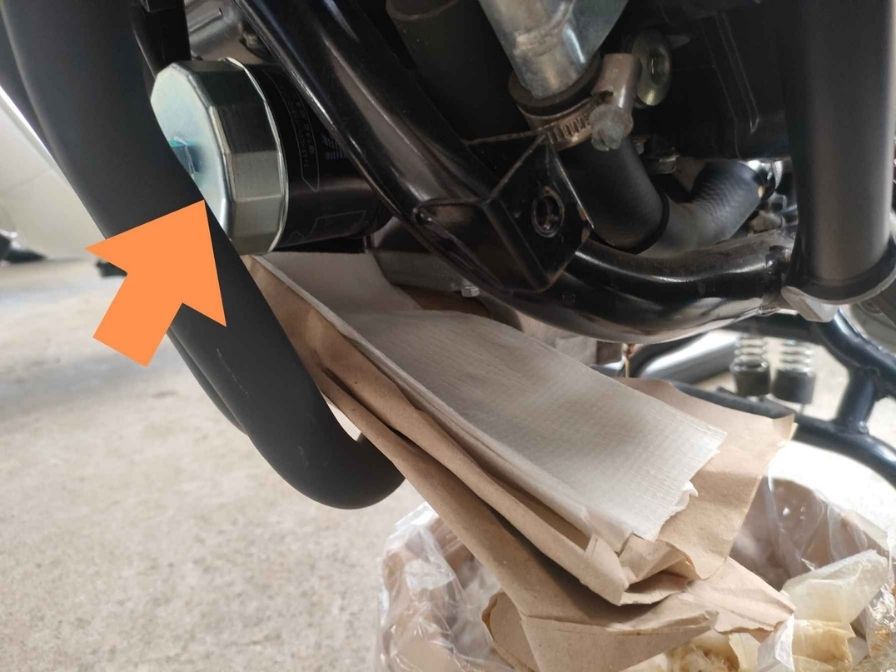
When removing the filter, oil will leak out, so set up a “slide” to channel it into the disposal pack.
I used thick packing paper and kitchen towels to guide the flow.
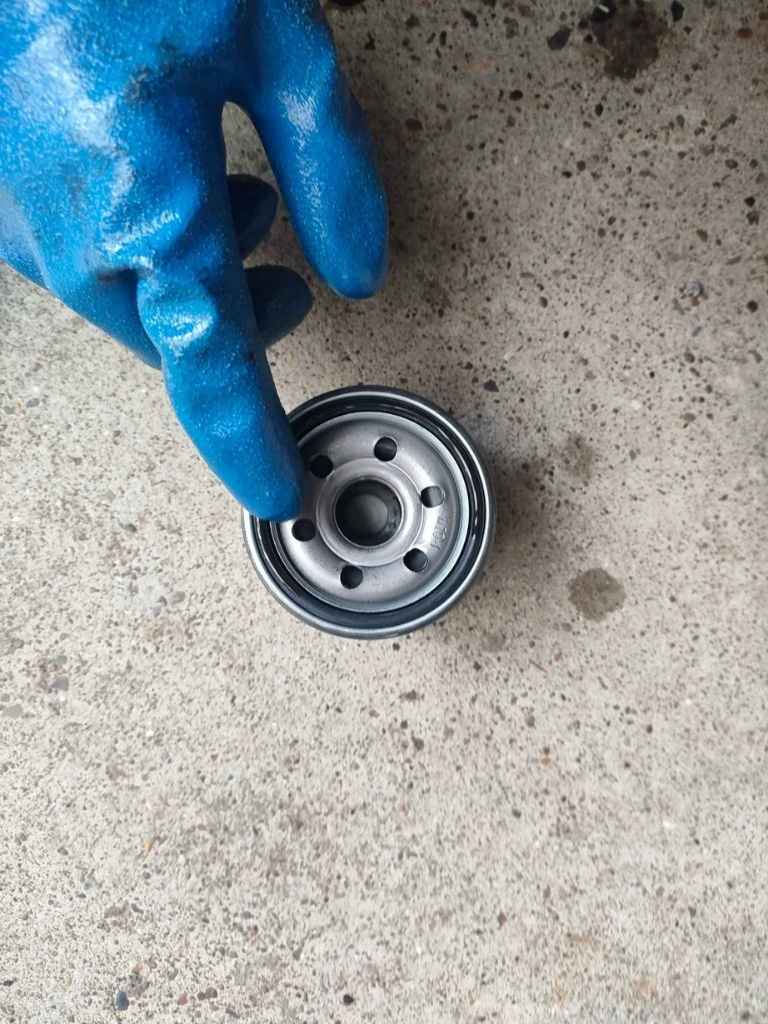
Removing the Filter
Attach the filter wrench to a ratchet and loosen the oil filter.
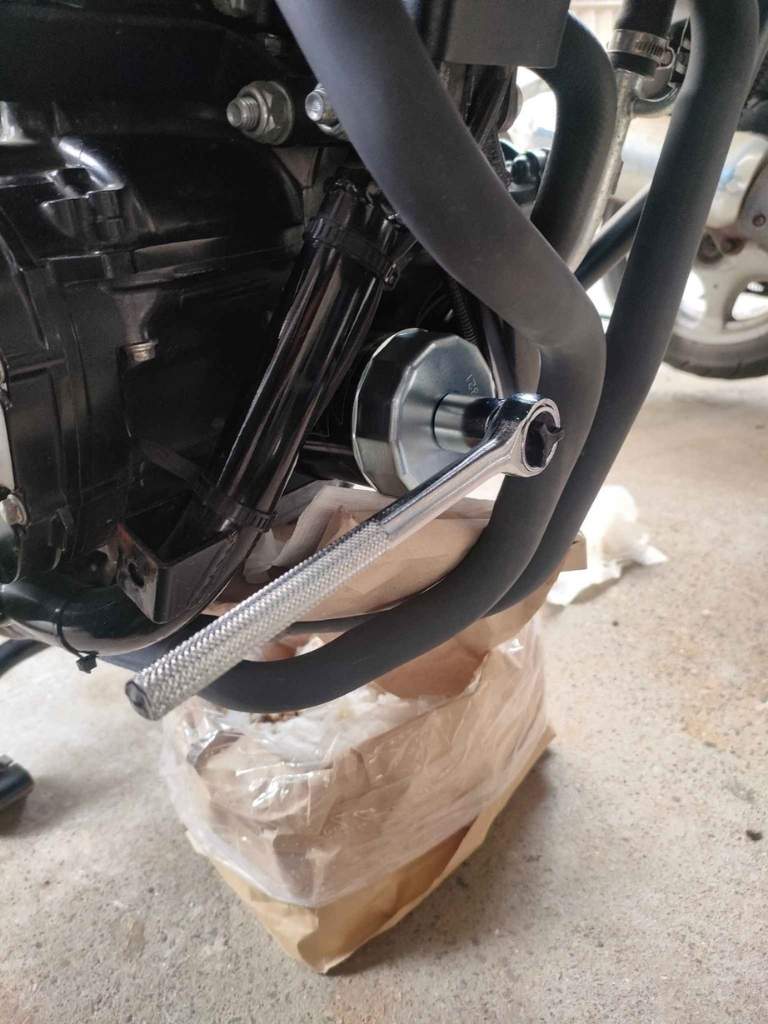
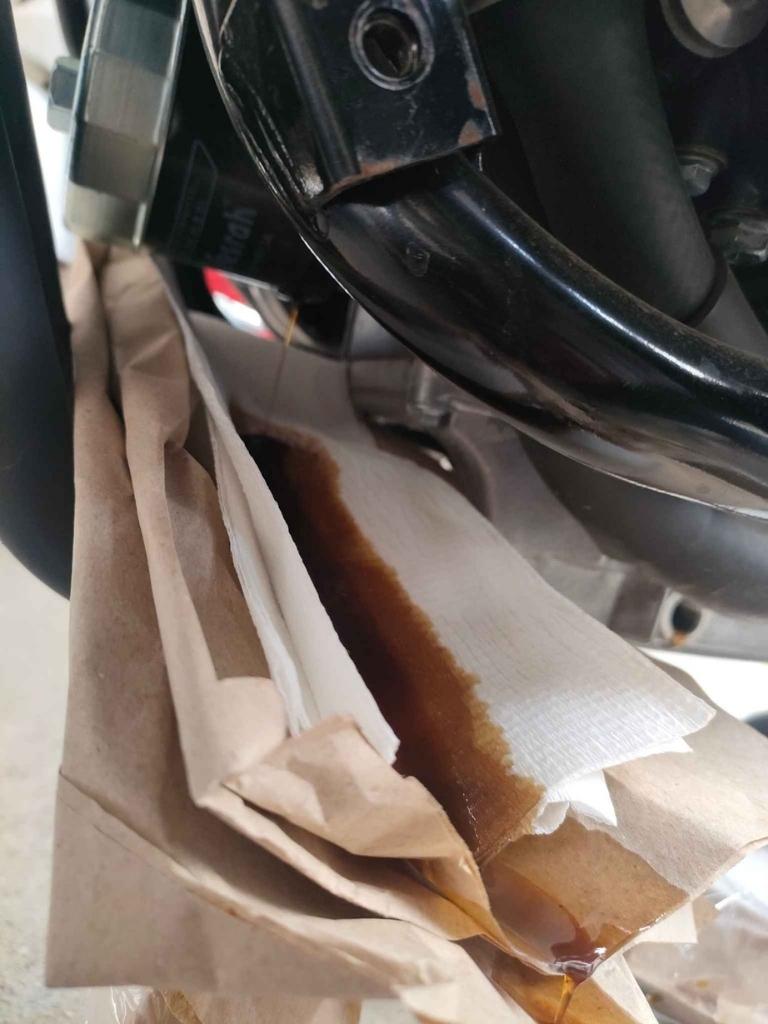
Thanks to the slide, the oil drained neatly.
Replacing the Washer
I kept the original drain bolt but cleaned it with parts cleaner.
The washer, however, should always be replaced.
I used a new one that came with the filter kit.
Reinstalling the Drain Bolt
Make sure the oil is completely drained.
Then reinstall the drain bolt and tighten it with a torque wrench.
I used 23 N·m—a value between the commonly referenced 22 and 24 N·m.
So far, I’ve had no problems with leaks.
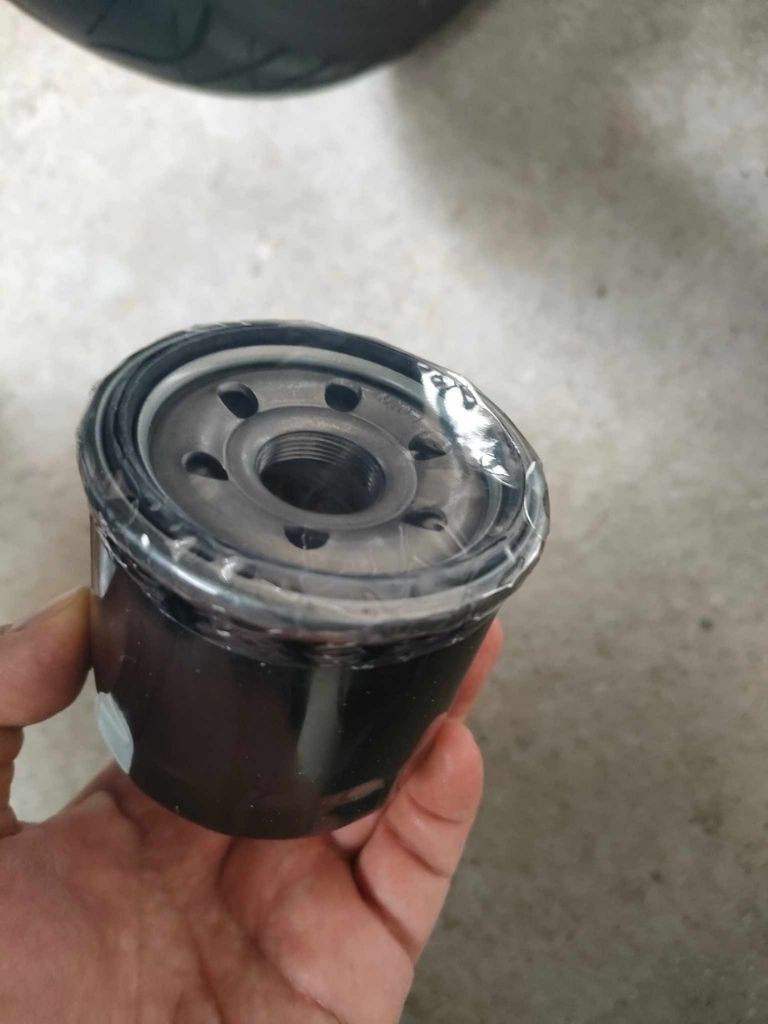
Preparing the New Filter
Apply a small amount of engine oil to the O-ring on the new filter.
Installing the Filter
Screw the filter on by hand.
Tighten it until it’s snug—no tools needed.
Cleaning Around the Bolt and Filter
Wipe around the drain bolt and filter area to remove any oil residue.
This will help you spot any potential leaks later.
Pouring in Fresh Oil (2.0L)
Pour in 2.0 liters of new oil.
The manual calls for 2.2L when replacing the filter, but I always start with 2.0L.
Running the Engine
Start the engine to circulate the oil.
After doing this, the oil gauge may appear nearly empty—don’t worry.
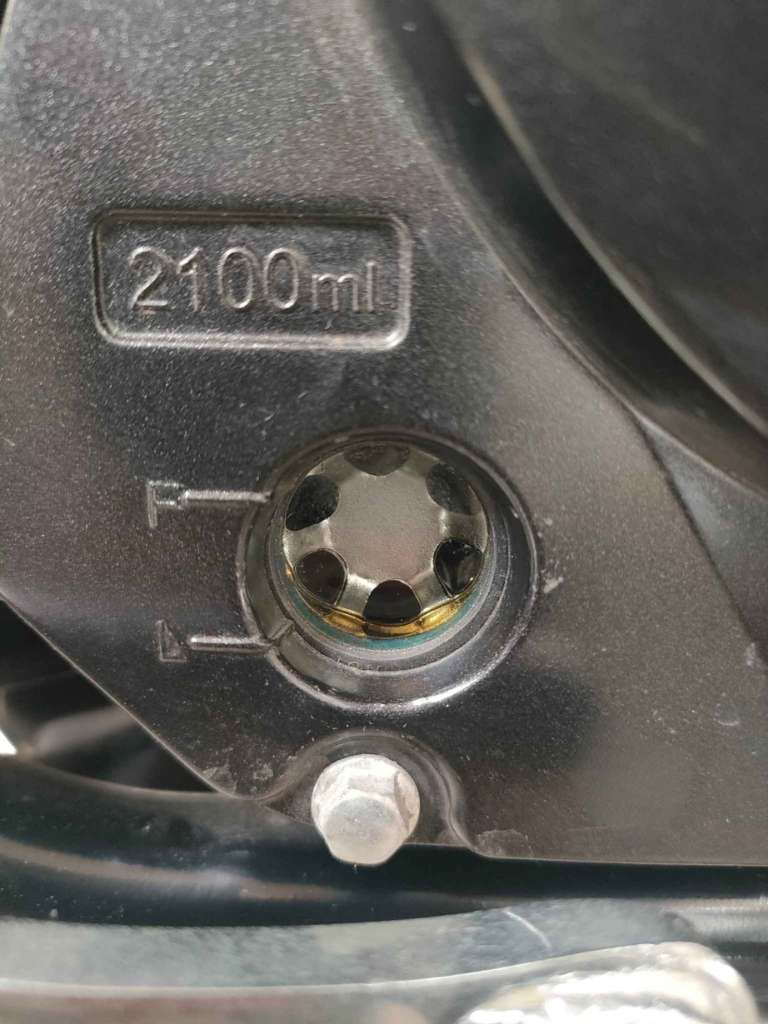
Topping Up the Oil (~0.3L)
Let the oil settle for a couple of minutes, then check the oil gauge.
Add around 0.3L as needed until the level is between “L” and “F.”
Final Leak Check
Start the engine again and check for any leaks around the drain bolt and filter.
Reinstalling the Under Guard
Reattach the under guard that was removed at the beginning. You’re done!

Summary
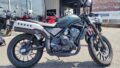
With the right tools and setup, changing the oil and filter on the V-Strom 250 is pretty straightforward.
It takes a bit of effort, but the benefits include:
- A better understanding of your motorcycle’s condition
- The freedom to choose the oil you like
- Lower long-term maintenance costs
If it’s your first time, take it slow. You might find it easier—and more rewarding—than you expected.